How to Start a Fashion Blog in WordPress for Free
WordPress Site Building Tutorial
Is it really possible to start a fashion blog in WordPress for free? It is definitely possible to spend a lot of money setting up a nice blog. You might pay for web design, graphic design, web hosting and a domain name. Then you have marketing to consider… But, is it possible to do it all yourself, for free? Surprisingly, the answer is still YES! If you read to the end of this post and follow every step – you will have a beautiful fashion blog! Presented on a fully customised website – all for $0! You can get started with free WordPress hosting by following our guide here. You can always move to paid hosting at a later stage when the time comes for more powerful web hosting. You’ll find this tutorial useful for making a fashion blog. But, you can follow these same exact steps to make a blog about any topic you like! The first step is installing your theme, plugins and choosing a starter site to build from. The whole process is all covered in our video:
You can follow along with our video guide and build your blog. You can also refer to this page where we have covered each step in detail.
Installing Your WordPress Theme (Astra)
Starting from a fresh install of WordPress, click the ‘log in’ link on the main page:
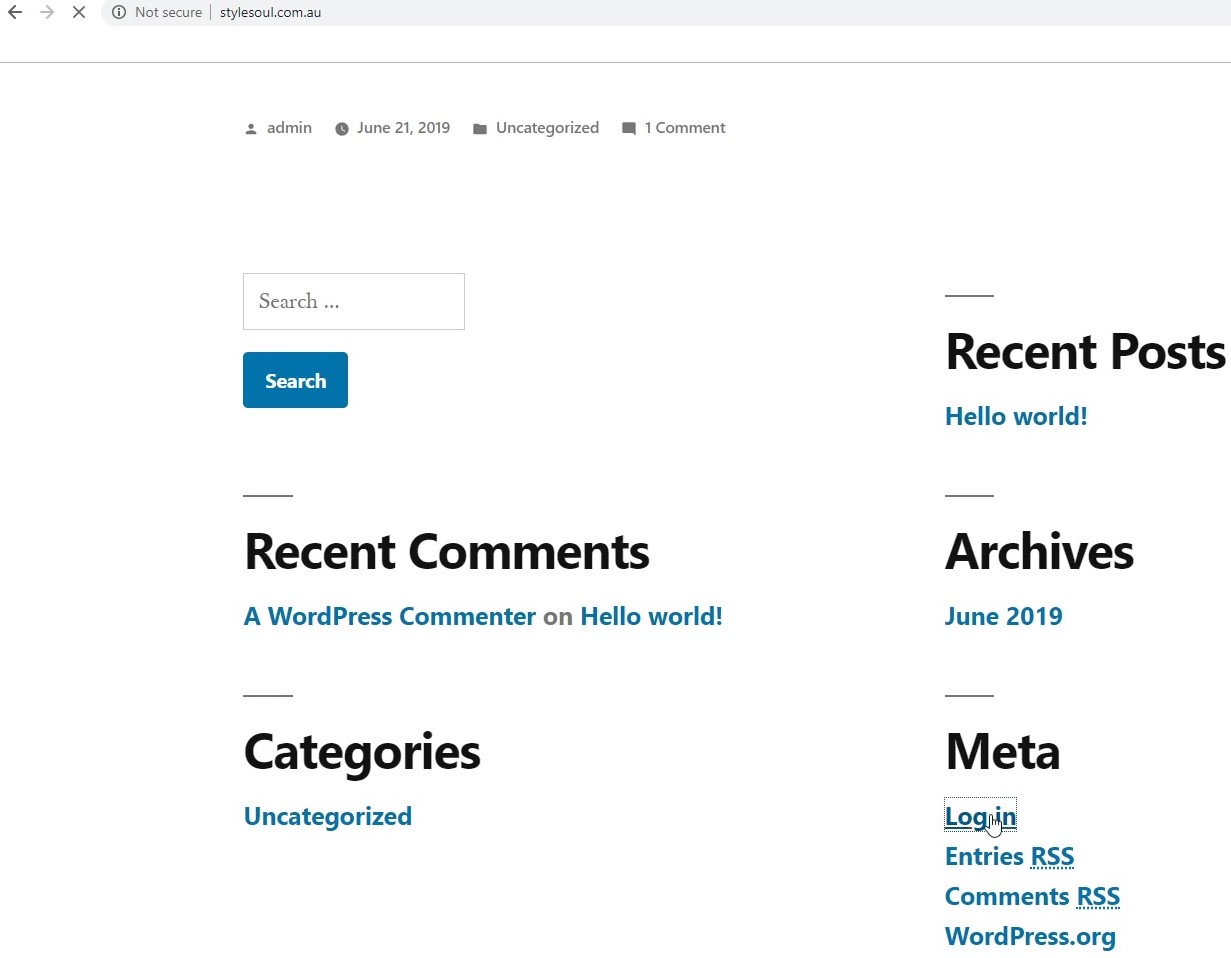
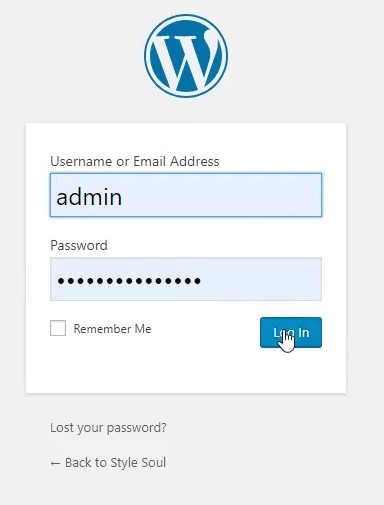
You can also get to the login page by adding /wp-admin to the end of the domain name. For example we could use style.com.au/wp-admin to get there. If you haven’t got WordPress installed on your web host yet check out our blog post here. This will show you how to install WordPress from CPanel. Enter your username and password that you used when installing WordPress:
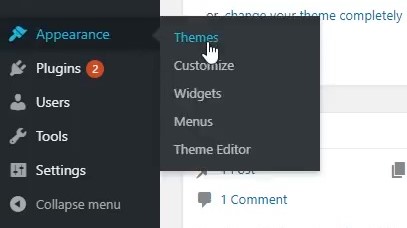
From your WordPress dashboard, click ‘appearance’ then ‘themes’:
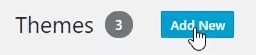
Click ‘add new’:
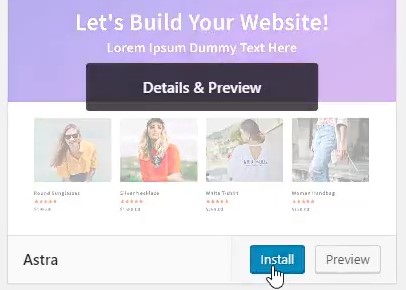
Search for ‘astra’:

Click ‘install’:
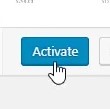
Then activate:
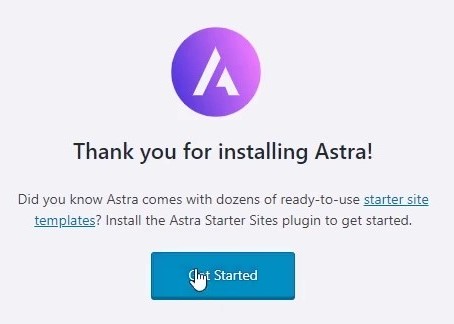
Click ‘get started’:
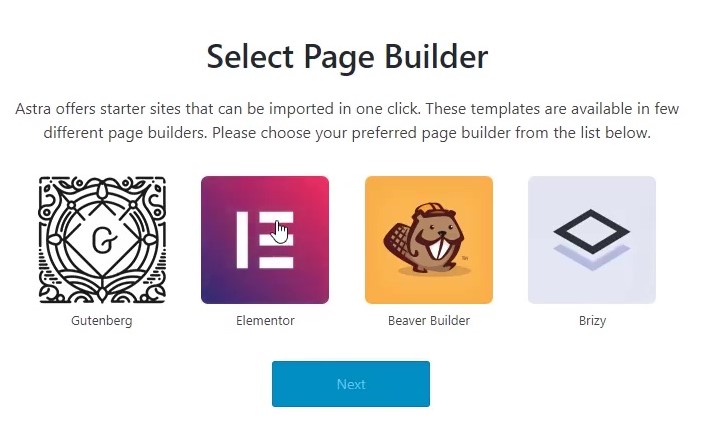
Select ‘Elementor’ as your page builder, then click next:
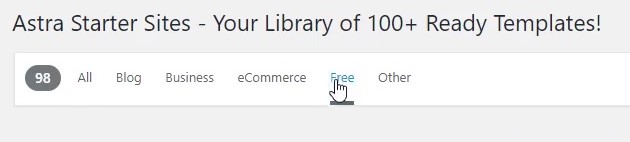
Look at the free starter site options by clicking ‘free’:
In this example we will choose ‘Fashion Lifestyle Blog’ click on it to load the preview page:

Click ‘import site’:

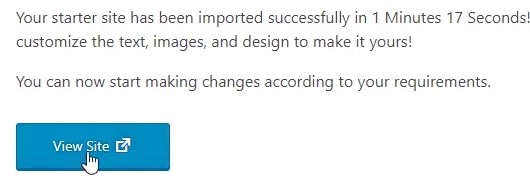
Wait a minute or two, then click ‘view site’:
On the header of your new starter site, click ‘Edit with Elementor’:

Now you are all set to go! Our next section will cover editing your starter site so you can make it your own. Within the next hour or so you will have a pretty nice new blog!
Editing Your Blog in Elementor
The first step to customising your blog is to start replacing the starter site images with your own. If you don’t have enough high quality images, that’s totally fine. Head over to pexels.com where you will find a lot of nice high quality photos that are free for you to use.
Changing Background Images
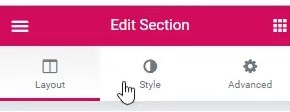
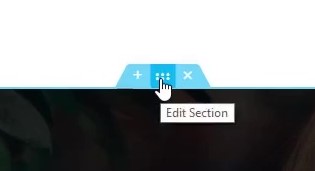
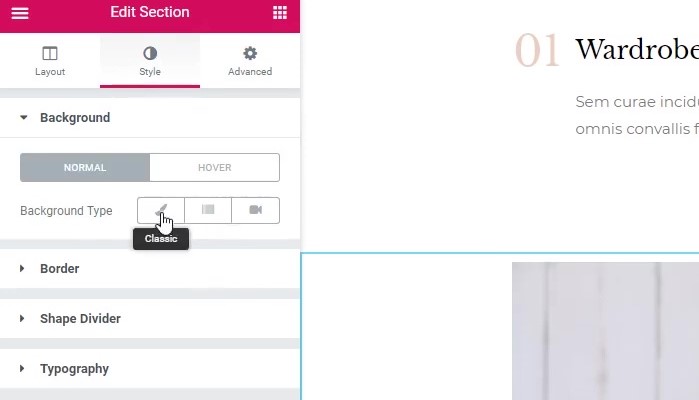
You can change most images in Elementor can by simply clicking them. Then, choose a new image from the sidebar. Background images are a little different though… Hover the mouse over the top of your section and click the middle ‘edit section’ tab:
From the left sidebar, select style:
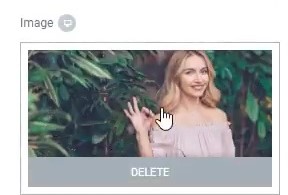
Delete the background image and choose a new image:
You’ll get to upload all your images here. Choose the ‘upload files’ tab and select files:
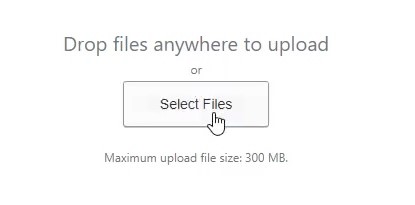
Upload your new images to the media library (it can take a few moments):

When you’ve chosen your new background image, click ‘insert media’:
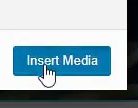
Then you will have your new background image ready!
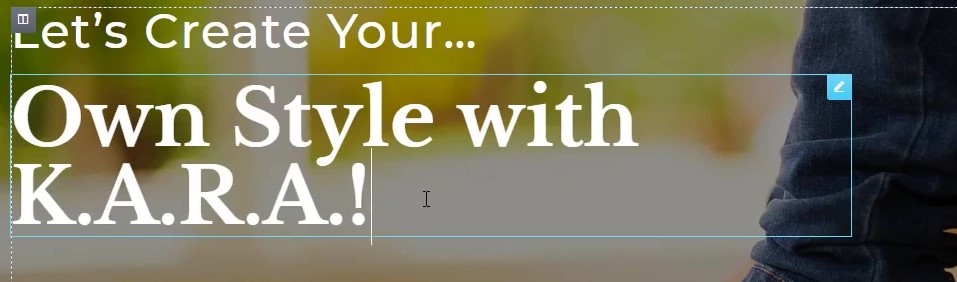
Changing Text in Elementor
You can change text within sections by clicking on it and editing. Very easy!
Removing Sections
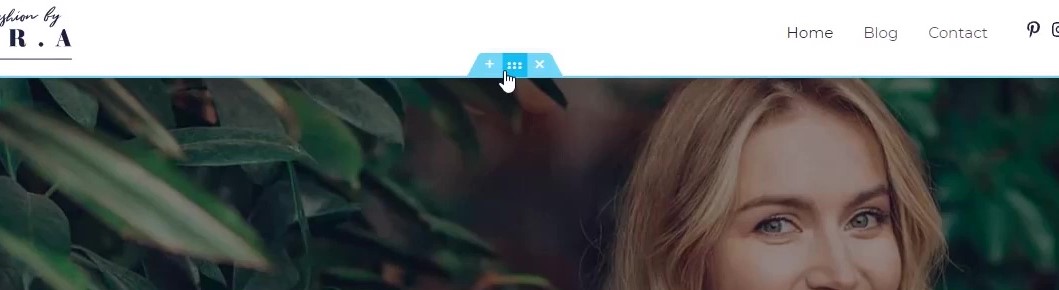
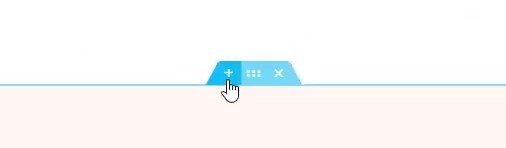
To delete a section, hover above the top of a section. Then click the blue ‘x’ button:

Making New Sections
We will cover three different ways to make new sections. My three favourite ways to do this are:
- Copying a section from another part of the website. Pasting into a new section, then editing it.
- Creating a new section, choosing the number of columns, then drag elements into the columns
- Creating a new section from a pre-designed ‘block’
How to copy a section, then edit it to make it ‘new’
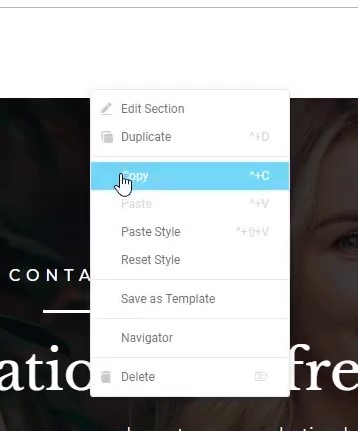
Hover over the section tab, right click and select ‘copy’:
Scroll to the position on the page where you would like a new section. Hover on the section below this, then click the blue ‘+’ on the section tab:

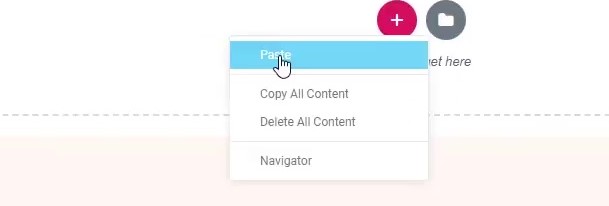
Right click inside the new section area and click ‘paste’:
You can then edit this section by changing its background and text.
Linking a Button to Another Page
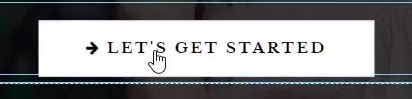
A button can take the user to another page by clicking on it. To set this up, click on the button:
Copy the address of the page you want to link to from your browser bar:
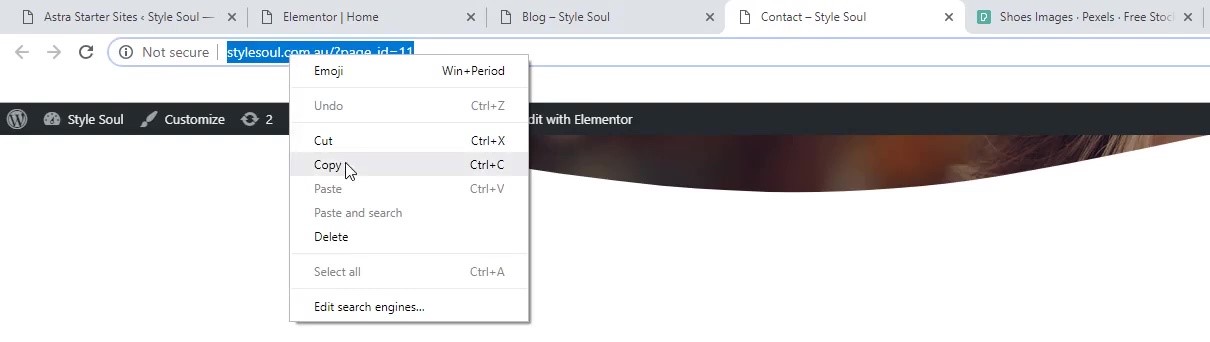
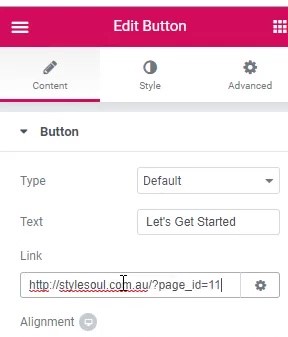
In this case we are making a link to the contact page. Paste the link address into the link field in the Elementor sidebar:
Click update to save any changes you’ve made along the way:

Background Overlays
Background overlays are a nice to use when you want to write text on top. You can use a black overlay to suit dark text, or a white overlay to suit dark text. You can also give the overlay some colour for extra visual effect. Click the section you want to edit, click the ‘style’ tab on the sidebar, then click ‘background overlay’:
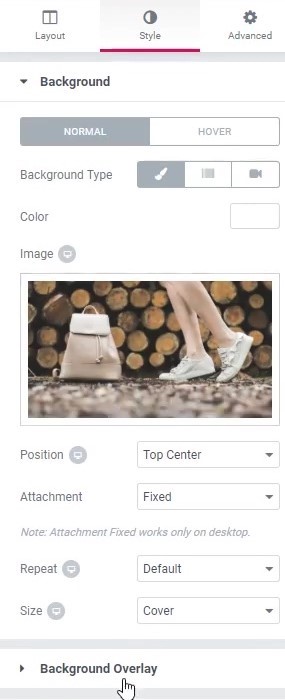
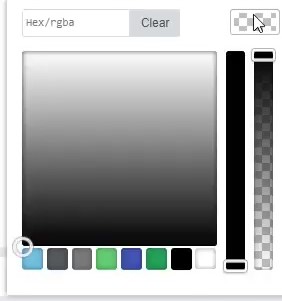
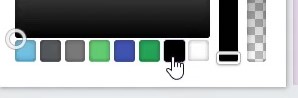
From here you can chose the colour by clicking the colour swatch. We choose black here:
Change the opacity by sliding the opacity slider:

Move the slider around until you are happy with how it looks. In this case we wanted our white text to be easily readable on the dark background.
Making a New Section From Scratch
Finally, you can design a section totally from scratch. Click the blue ‘+’ button on the section tab to make a new section:

Click the pink ‘+’ round button to a add the section:

Then chose your structure. It’s usually better to use only one or two columns. In this case we used two columns:

Now click the ‘elements’ icon on the top right of your sidebar:

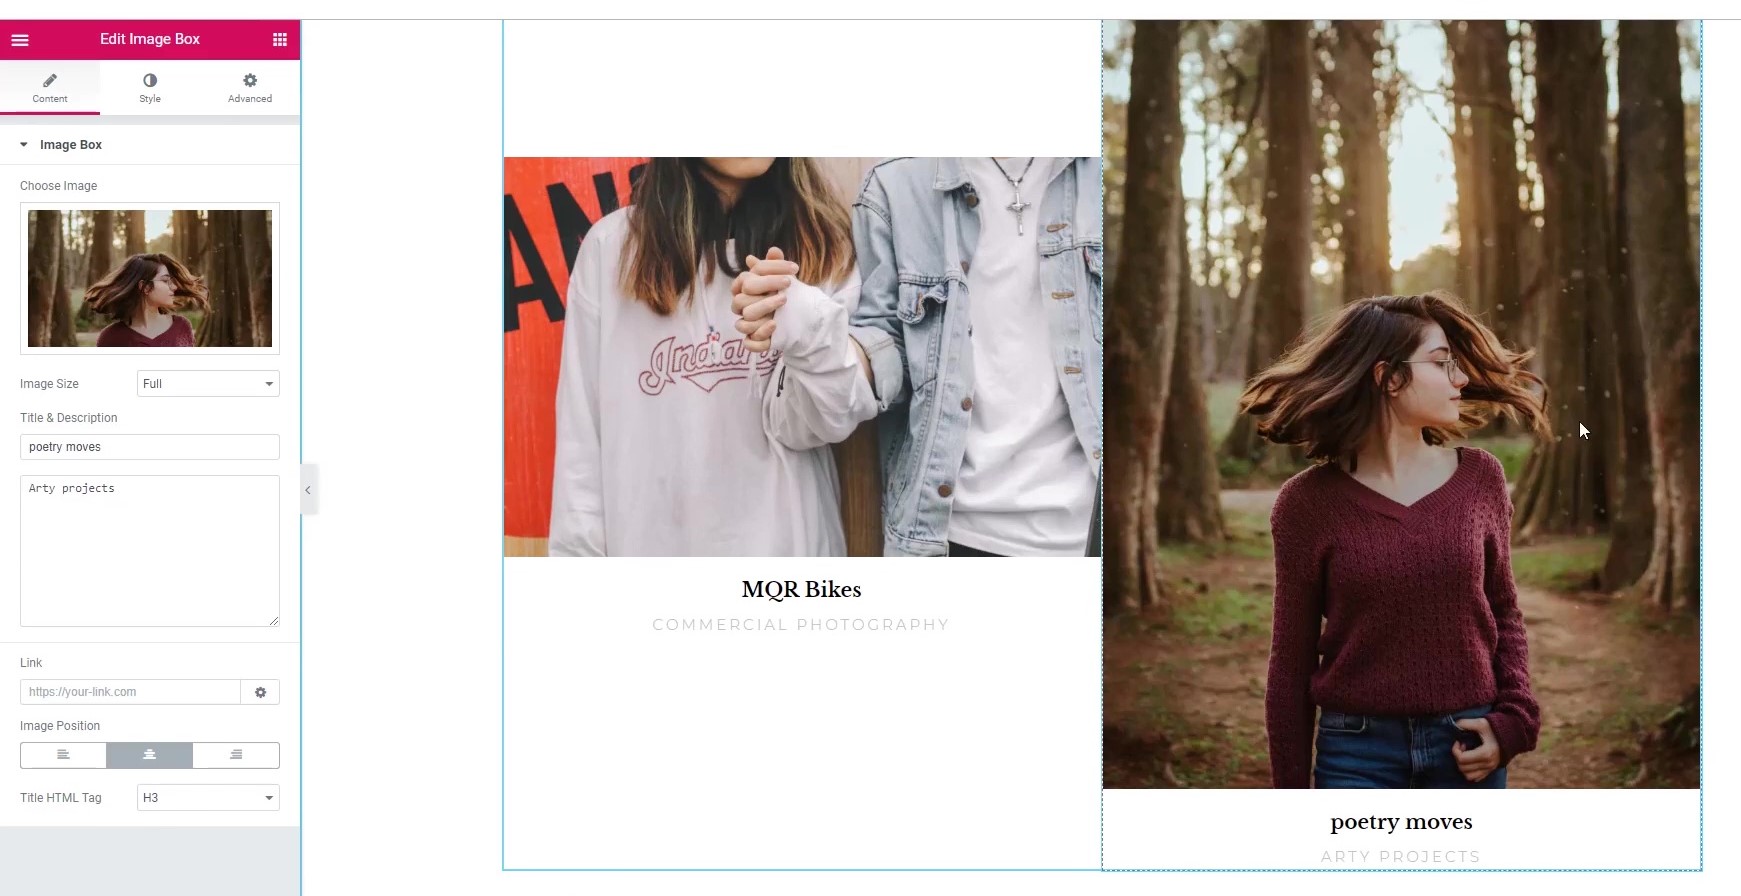
Now you can drag and drop elements into your new column. In this demo we dragged an image element into the left column:

Now click the image and delete the placeholder image in the sidebar:
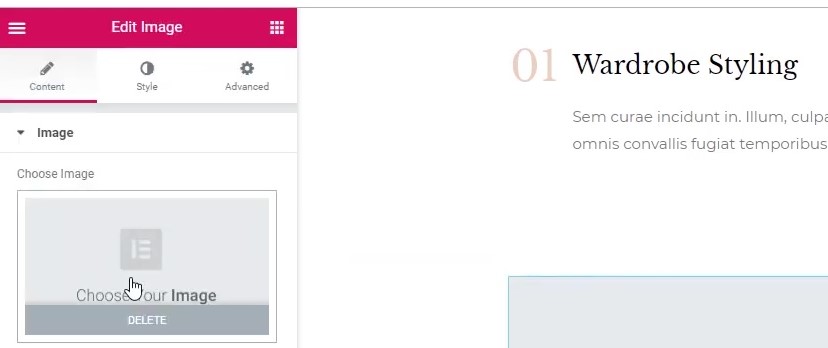
Choose an image from your library and click ‘insert media’:
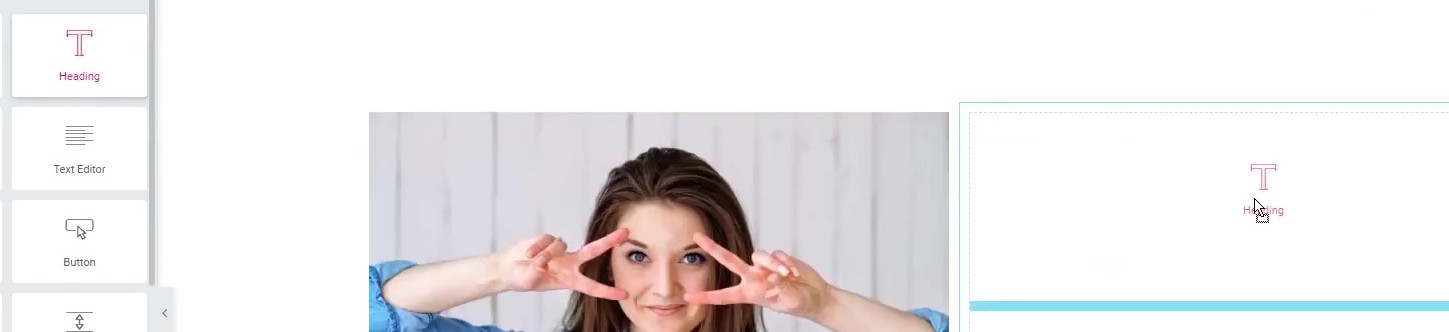
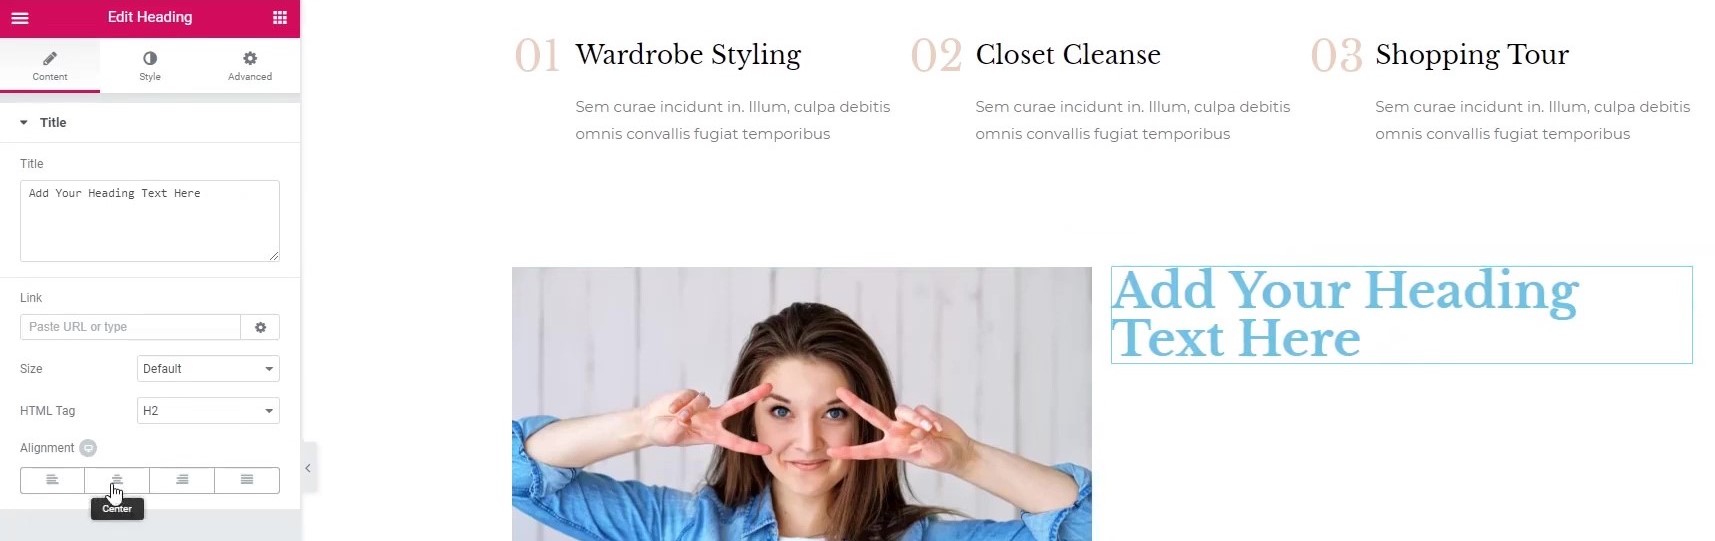
Next, we dragged a ‘heading’ element into the right column:
Under the content tab, we can centre the heading with ‘alignment’:
Now we drag a ‘text editor’ element below the the heading, to add some basic text:

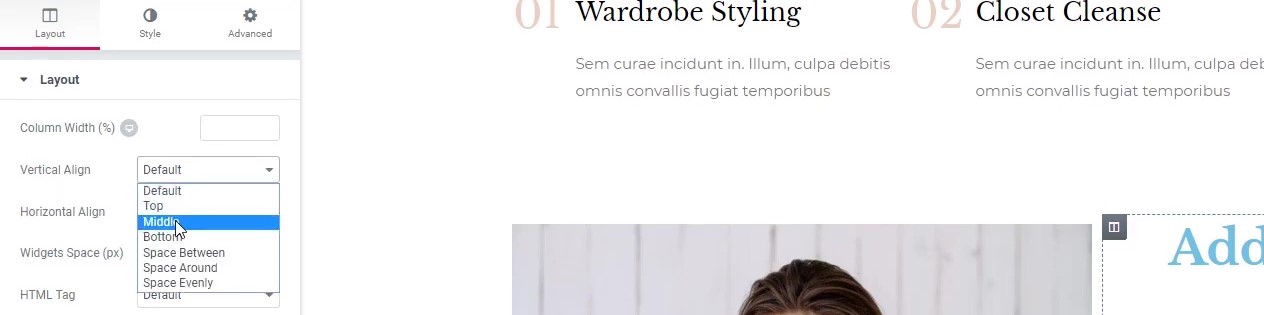
We can make the heading and text sit in the middle of the column by clicking the column icon:

Then under layout, ‘vertical align’ choose ‘middle’:
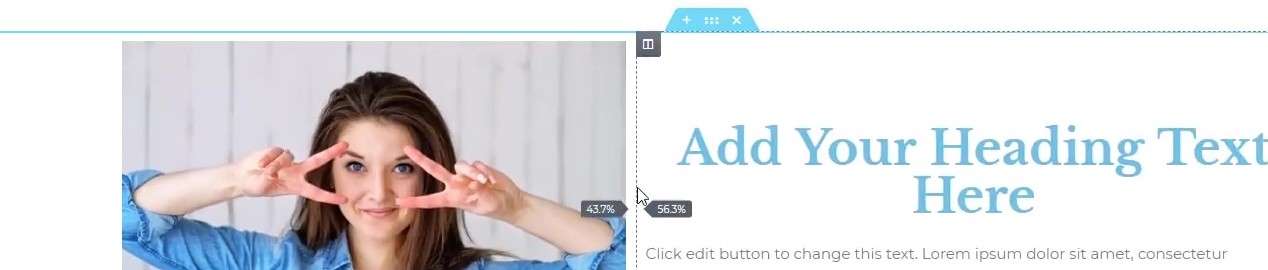
You can change the width of the columns by dragging the column divider with your mouse:
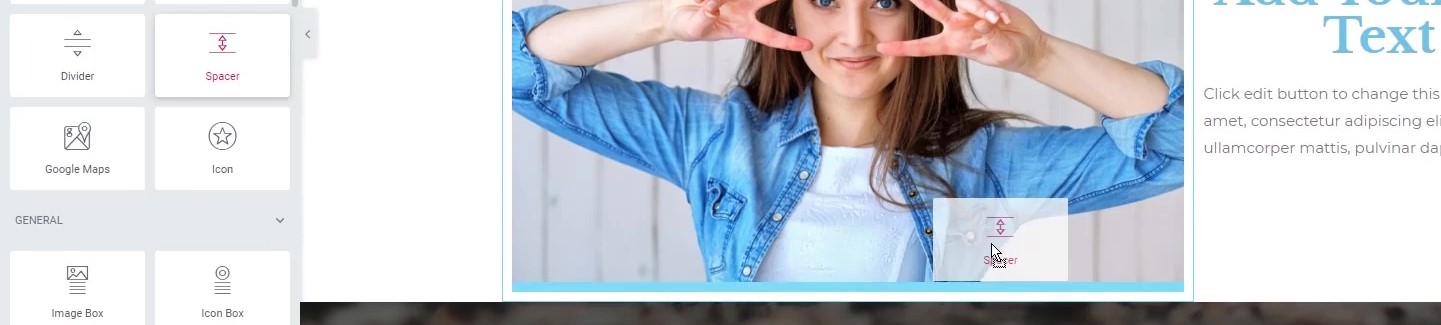
We added some space below our new section by dragging in a ‘spacer’ element and dropping it below our image:
Under the style tab, we edit the background colour by choosing ‘background type’, ‘classic’:
Pick a colour by clicking the colour swatch:
Change the colour of the heading text by clicking the ‘style’ tab:
We’d like a black title. So, choose a new colour for the title by clicking the title colour swatch:
Then and choose your colour:
You can follow the same process to change your text colour of the text editor; element.
Adding a Pre-designed Section:
My favourite method for adding a new section is to use pre-designed template. First, add a new section (blue ‘+’ icon on the section tab):
Then click the grey folder icon to add a template:

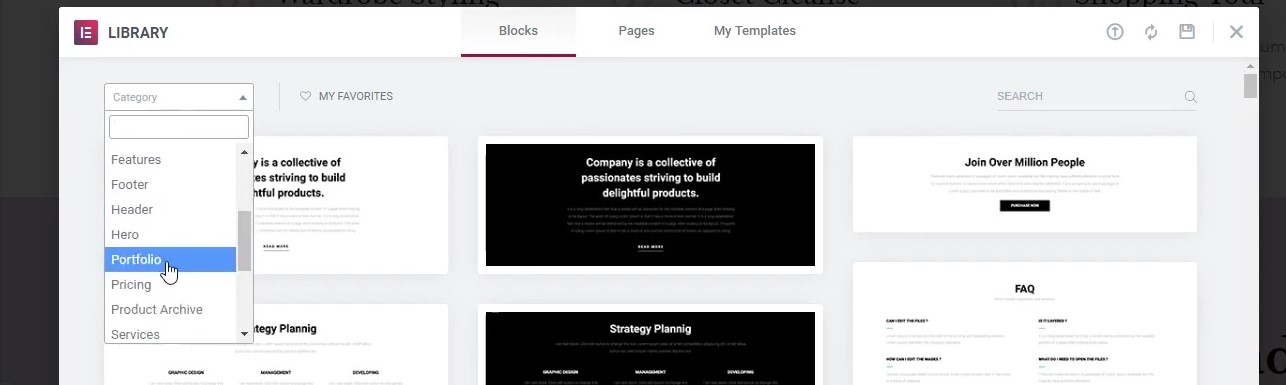
Click ‘blocks’:

Scroll through the pre-made blocks, or chose a category from the drop-down menu. In this case, we look at the portfolio blocks:
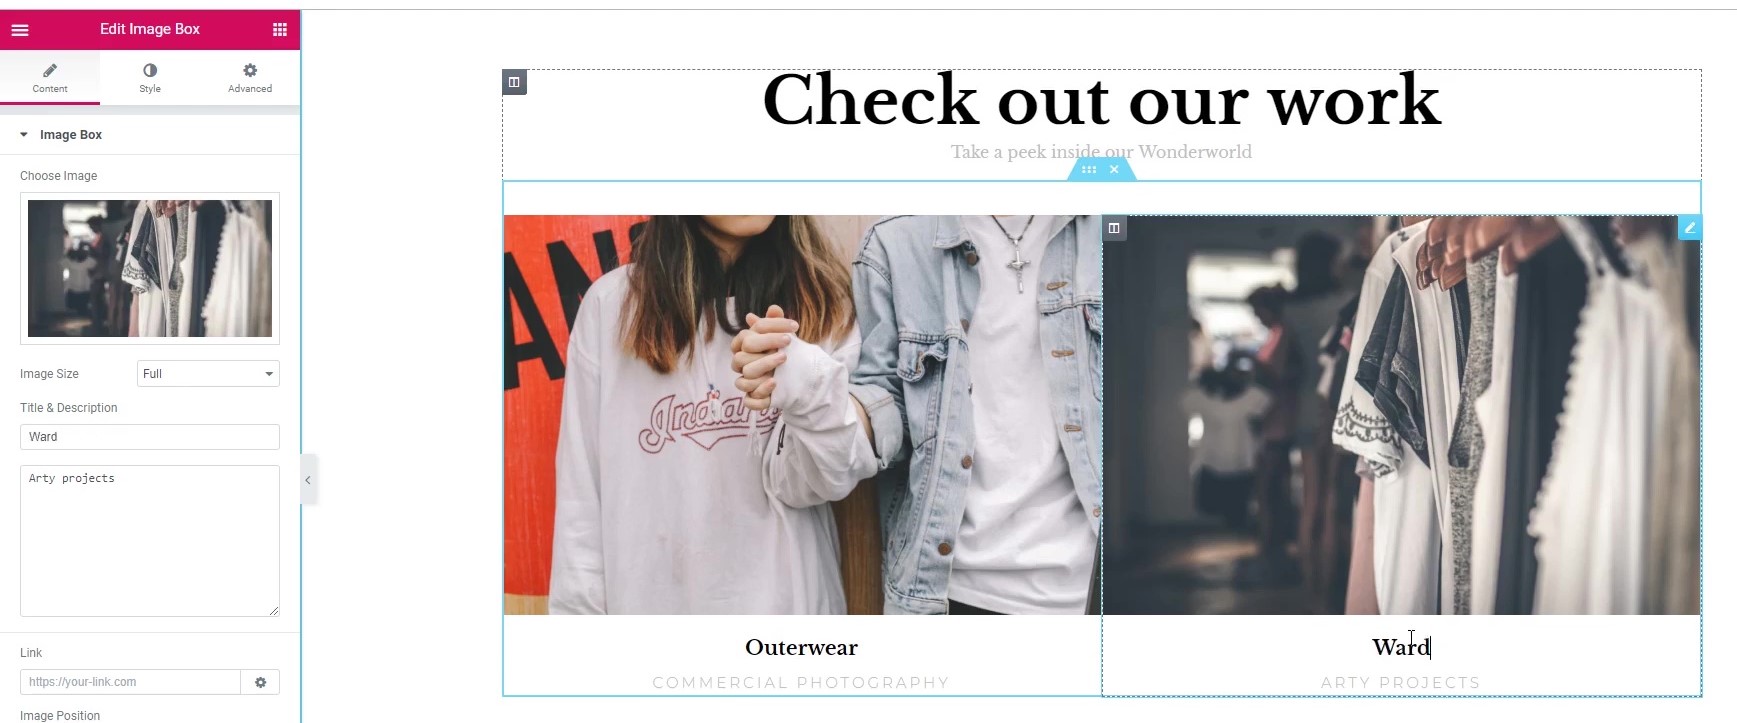
We chose the ‘check out our work’ block:
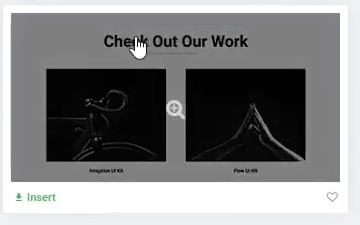
Click the block you like, then click insert:

Delete the images and replace them with your own:

Be careful that your images suit the layout of the block! In this case, a landscape image doesn’t work well with a portrait image:
Now we have two landscape images together! Edit the text by clicking it then changing to your own words:
That’s all there is to it! You now know three ways to design new sections for your web page. These skills will help you design almost any layout you could think of. Have fun! In our next section, we will cover the header and footer of the website.
Customising Headers & Footers
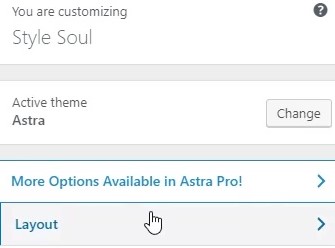
You can customise your headers and footers in the theme customizer.
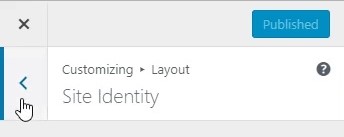
Click ‘Customize’ on the header menu:

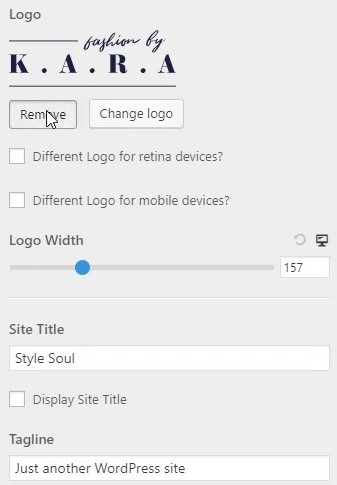
The theme customiser will load up. You will see some round, blue pencil icons in the preview area. First, we click the one near the logo to change your logo and site title:

Remove the logo and select ‘Display Site Title’ to show a title rather than a logo. Also change your tagline to something to suit your site:
Click publish to save any changes:
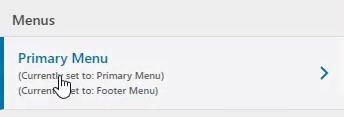
Now we will work on the menus. Click the back button 3 times to get to the main menu:
Then choose ‘Menus’, ‘Primary Menu’:
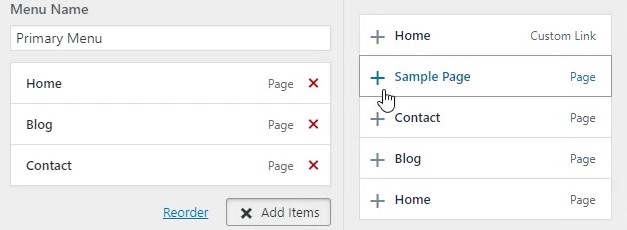
Click ‘Add items’:
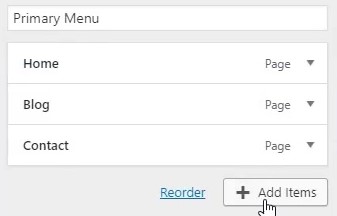
You can add any page on your site by clicking the ‘+’ button next to the page name. You can remove any page from the menu with the red ‘x’:
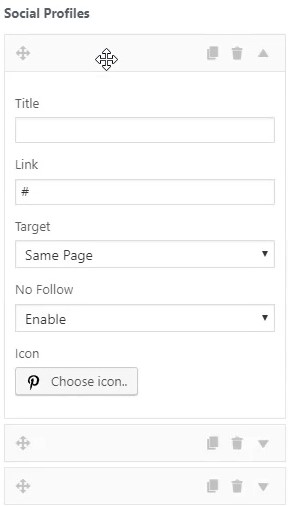
Next, lets customise the social icons. Click the blue pencil closest to the icons:

You can access the settings for each social icon by clicking on the grey bars under ‘Social Profiles’:
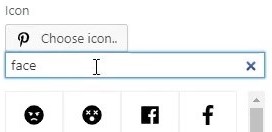
To change an icon, click ‘Choose Icon’:

We can change the Pinterest icon to a Facebook one by typing ‘face’ into the field. Click the icon you want then press Enter:
You’ll need to paste a link to your Facebook (or whichever) social media page you want to link to in the link field:
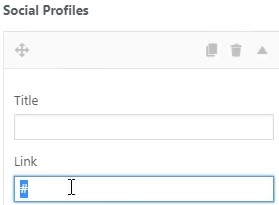
For example https://facebook.com/yourprofilepage would go in there.
Customising Footers
Next lets customise the footers. Click on the blue pencil on the left side of the footer:

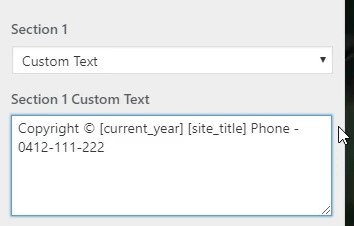
You can change any of the custom text as you like here under ‘Section 1 Custom Text’ for example, we added a phone number:
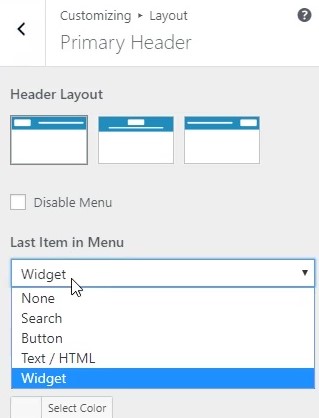
Rather than having social icons, there are other things you can put in that part of the header menu. Click back 3 times to go back to the main menu:

then click ‘Layout’, ‘Header’ then ‘Primary Header’ Now, you can customise the ‘Last item in Menu’ to be a button or search icon if you’d prefer:
Make sure to click ‘Publish’ to save all your changes:
That’s all you need to customise your headers and footers! Our next section will focus on customising the blog section.
Customising Your Blog Page
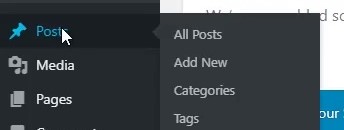
The first thing we will do is remove the ‘hello world’ demo post. That post auto installs when you setup WordPress. Your blog will look better without it. Go to your WordPress dashboard:

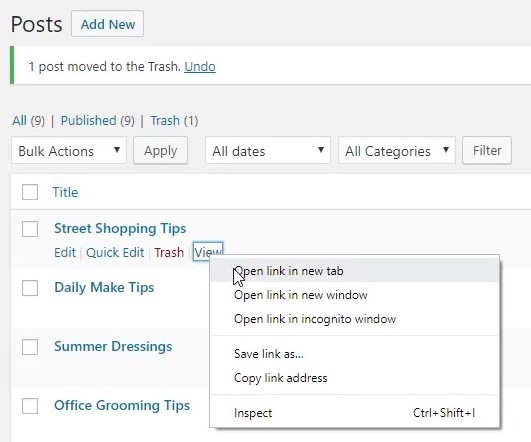
Click posts:
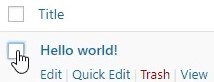
Tick the ‘hello world’ post box, and click trash:
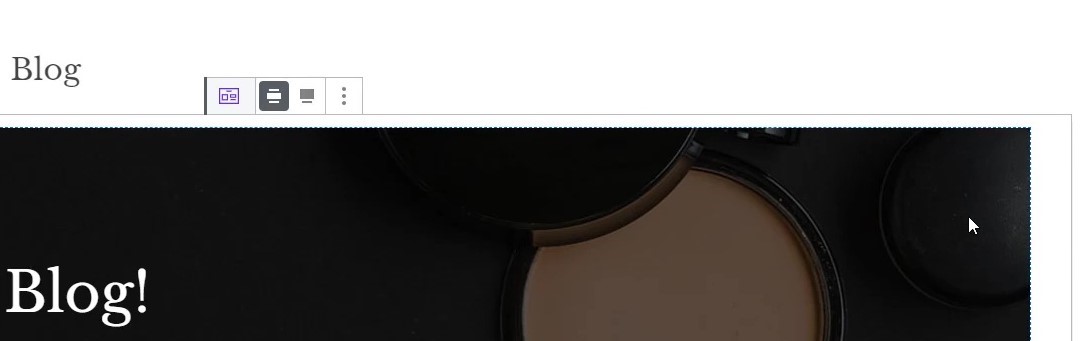
Now, from your blog page, click ‘Edit Page’:

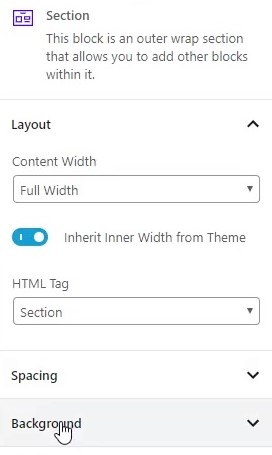
Click inside the blog background image, so you can edit the section options:
In the section options in the right sidebar, click ‘background’:
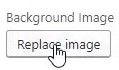
Click ‘replace image’ then choose a new background image:
You can change the blog title, click on it and customise as you like:
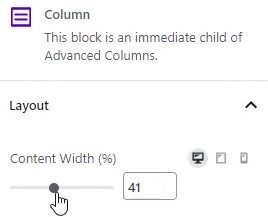
Click inside any column to see the column options:

We changed the column width by dragging the slider:
Whenever you click a block or section, you’ll get an icon menu at the top. Click the “three dots” menu then click ‘remove block’ to remove any block:

We change the title of the blog area by clicking the title and changing the text:
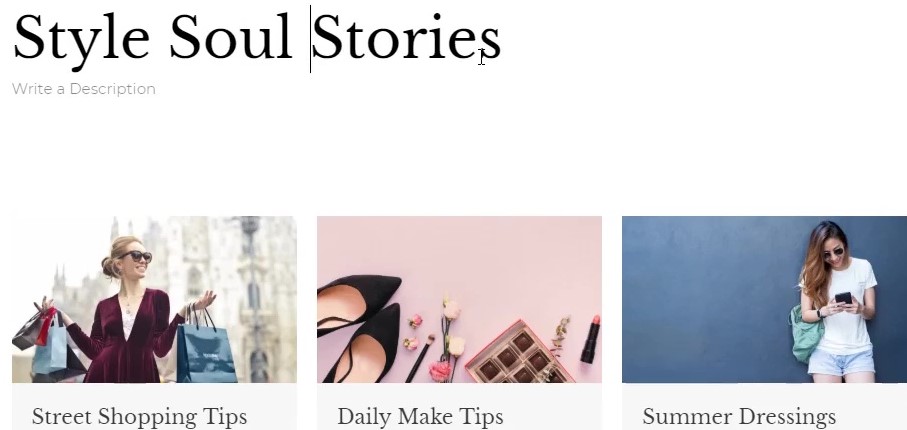
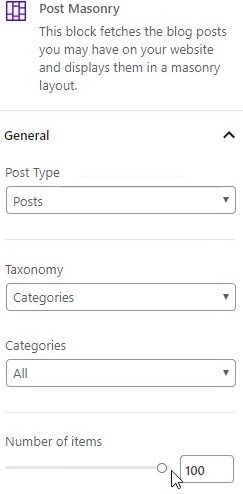
Click inside the blog area, to open the blog layout options in the right sidebar. It will be either ‘Post Masonry’ or ‘Post Grid” depending on your blog:
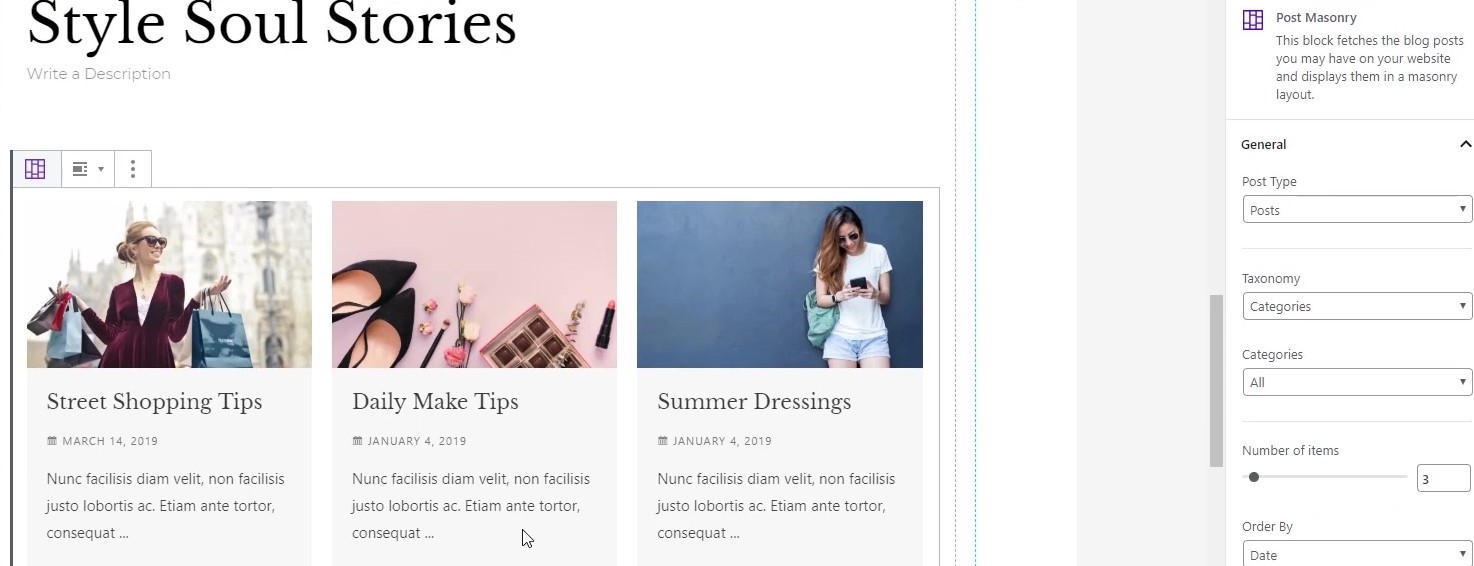
We can change the number of blog posts to display by dragging the slider, (the most is 100):
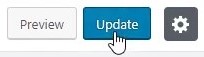
Remember to hit update to save things!:
Let’s view a post from the posts list in the dashboard, by clicking ‘view’ under the post:
The post looks OK, but we want to remove the “Leave a Comment / Trending” text under the title. This is ‘Post meta’ and you can customise this in the theme customiser.

Click ‘customize’:

Then follow the menu, click ‘Layout’, then ‘blog’ then ‘single post’:
Uncheck the ‘eye’ on ‘comments’ and ‘category’ to make those invisible. You may want to make other things visible, like the ‘date’ for example:

Adding a New Post
Let’s try adding a new post. From our dashboard, click ‘Add new’:

Add a title by clicking in the title area and typing:

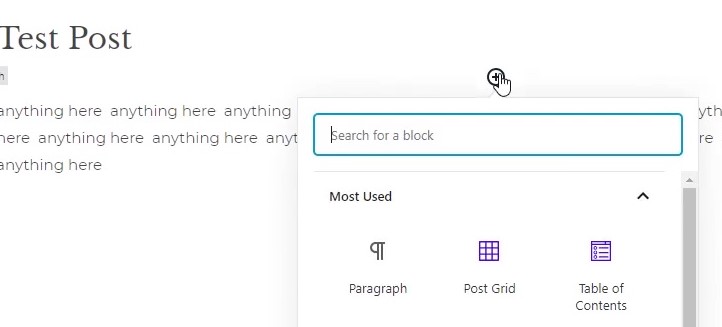
Type your post into the first block under the title:

Hovering above a block will allow you to add a new block, there are many kinds to choose from:
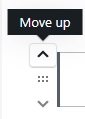
Hovering on the left edge of a block will give you arrows. Allowing you to move the block up or down in the layout of your post:
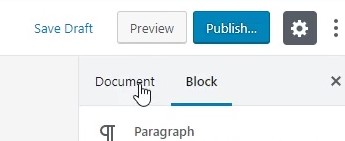
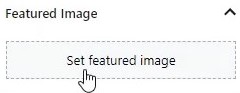
It’s very important to use a featured image, this will be the image that shows up on your main blog page. Click ‘document’ in the right sidebar:
Click ‘set featured image’ then choose your featured image:
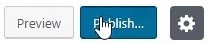
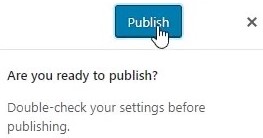
Click ‘publish’ to save any changes:
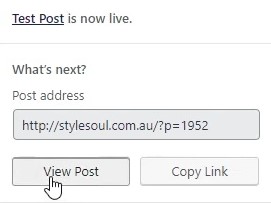
You might get asked to confirm, to make your blog post live on the internet!:
Now, view your new post by clicking ‘view post’:
That’s it! You are now a blogger! For our final section in this series, we set up the contact form on the contact page.
Setting up the Contact Form (WPForms)
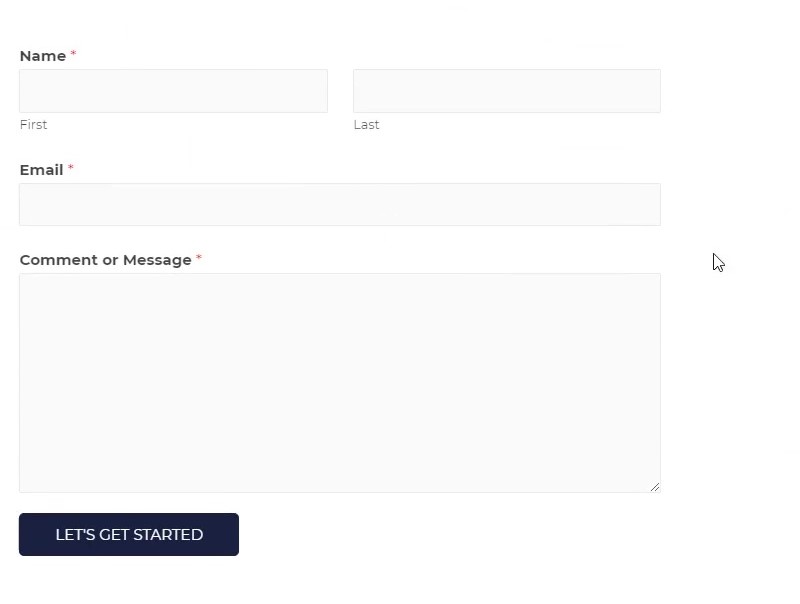
Your starter site will usually come with a contact form. It’s located on the contact page and will look something like this:
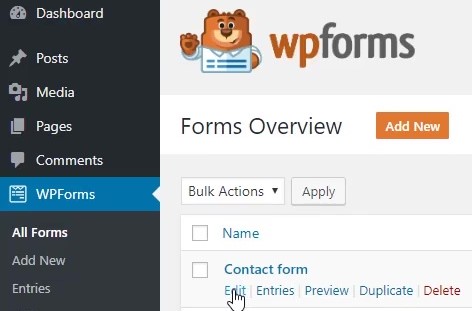
You’ll need to set it up for it to work. Go to your dashboard:
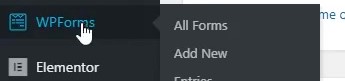
There should be a dashboard item called ‘WPForms’, click it:
Click ‘edit’ under the form called ‘Contact form’:
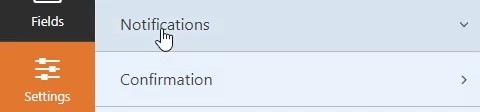
Click settings:

Select ‘Notifications’:
Under ‘Default Notification’ you can change the ‘send to email address’ to your own email. This will send you an email whenever a reader fills out the contact form. You also need to change the ‘From Email’. WordPress needs to address the email ‘from’ the same domain that your WordPress site is on:
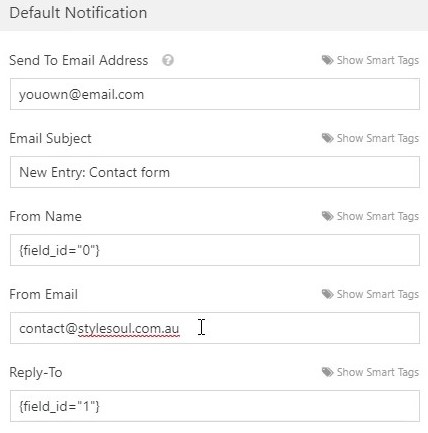
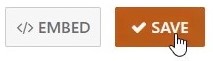
This step is important. If the ‘from’ email isn’t set up properly, the emails might end up in your spam folder, or get blocked all together! After you’re done, click save:
That’s all there is! Your blog is ready to go.
Also, you can continue your learning in our full featured WordPress course in Brisbane – Check it out here!