WordPress Tutorial – YouTube Video Guide
Our post today is a WordPress tutorial video guide. You’ll get the basics of what is covered in an IdeaSpot WordPress course .
We will go through the basics of building a simple WordPress site. In our example YouTube WordPress tutorial, you’ll find everything you need for a basic site in less than 20 minutes!
WordPress Tutorial – Preview Video
Please watch the above video and refer to the guidance below as you build your own site.
What You’ll Need for the WordPress Tutorial
Before you get started, you’ll need access to WordPress. If you don’t have WordPress installed yet, you can do this by:
- Using a web host online, and installing WordPress through cPanel. We have a quick guide HERE.
- Installing Local by Flywheel. This will install WordPress on your computer. You can then use WordPress to build a site offline from your own computer. We have a guide for this HERE.
Once you have WordPress installed, follow along with our video, and refer to the guide below as you work. Viewing this guide before attending a WordPress training Brisbane session is great preparation.
Our first step is getting the Astra theme installed from the WordPress dashboard.
1. Installing the Astra Theme
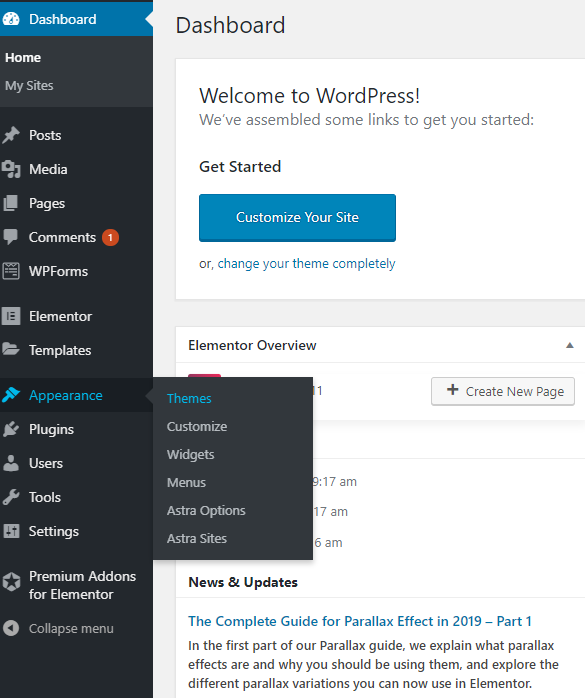
Log in to your WordPress Dashboard.
Click ‘Appearance’, then ‘Themes’
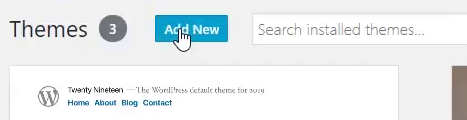
Then ‘Add New’
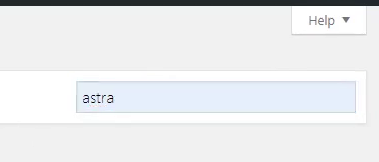
Then search for ‘Astra’
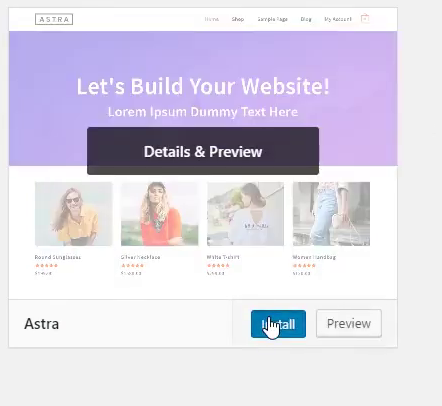
Click install:
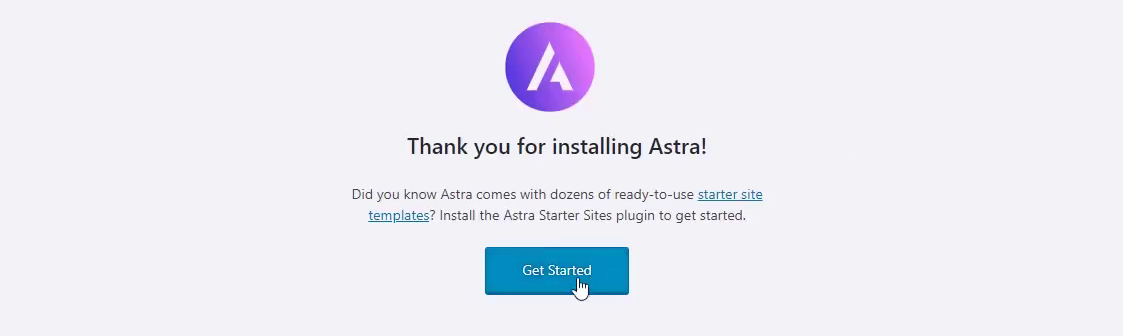
Click ‘Get Started’ and wait for it to activate:
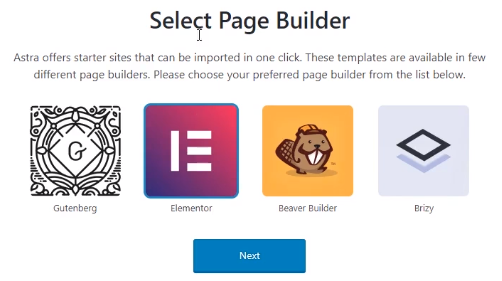
Select ‘Elementor’ as your page builder:

You can now view the Astra Starter Sites, select the ‘Free’ tab to view all the free options. At the time of writing this there were 40 to choose from!
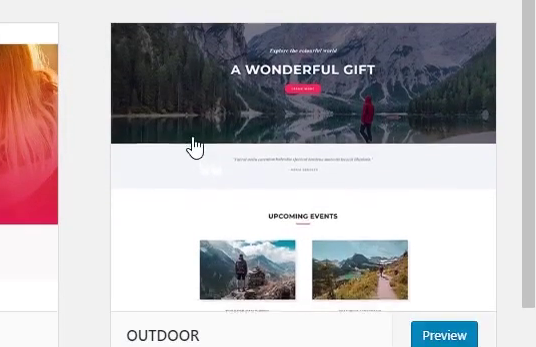
For our example we use the ‘Outdoor Adventure’ starter site. Click it:
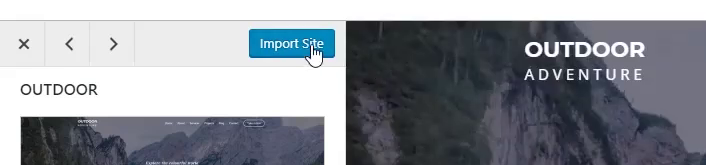
Then click the ‘Import Site’ button:

Wait a few moments for the site to import. When it’s done, click ‘Done! View Site’
2. Editing WordPress Pages with Elementor

Click ‘Edit with Elementor’
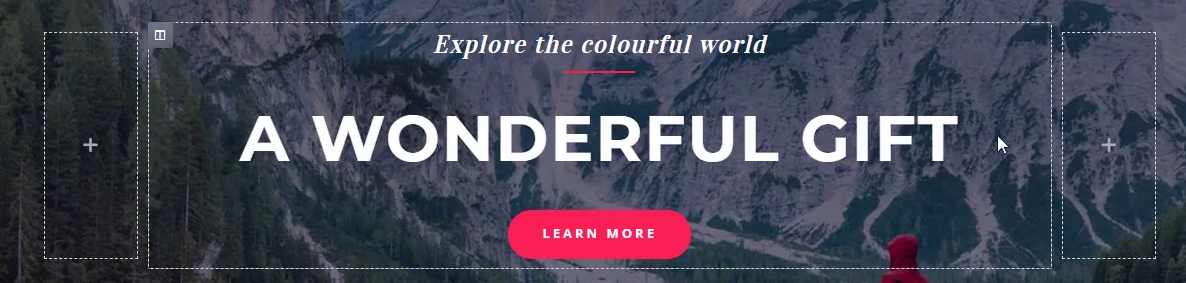
This loads up the Elementor page builder. From here you can edit text by clicking on it and changing it live on screen:

You’ll need nice high quality images for your site. You can find free ones over at pexels.com. Search for the type of image you want:
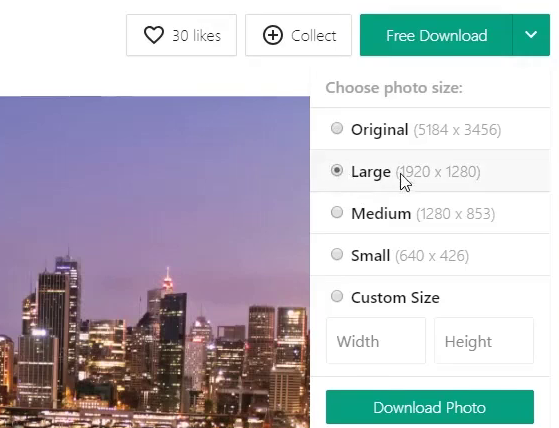
Download them as ‘large’ size if possible. You’ll want to have around 10 images to start with when making your site:
Section Background Images

To change a background image in Elementor, click the blue tab on the top of the section:
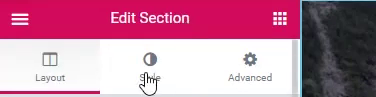
On the left sidebar, click the ‘Style’ tab.
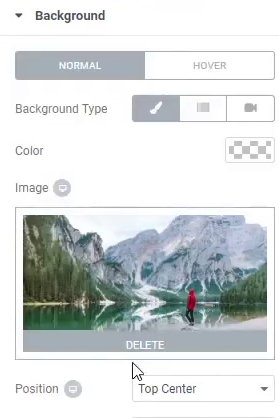
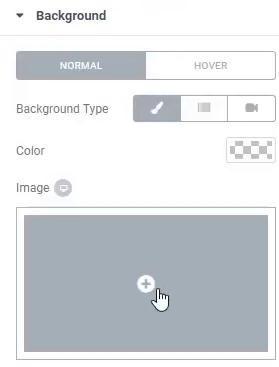
You’ll see the background image thumbnail in the sidebar. Click delete, and click the + icon to add a new image:

From here you can upload new images to your media library. Drop your files in to upload them to the library. Also, you can choose images that are already in the media library:
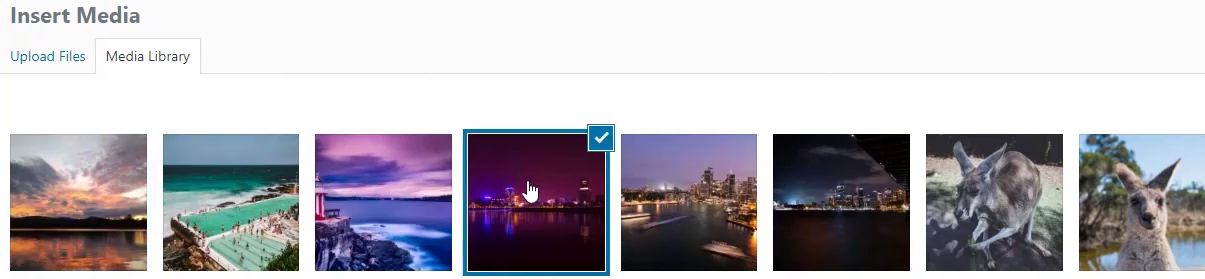
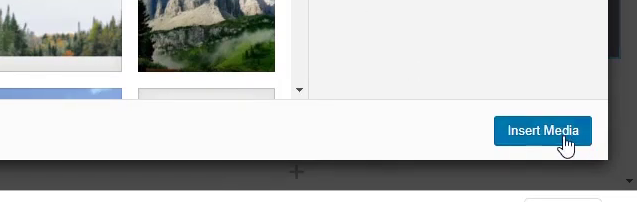
Select the image you want to use for the background:
Then click ‘Insert Media’
Buttons
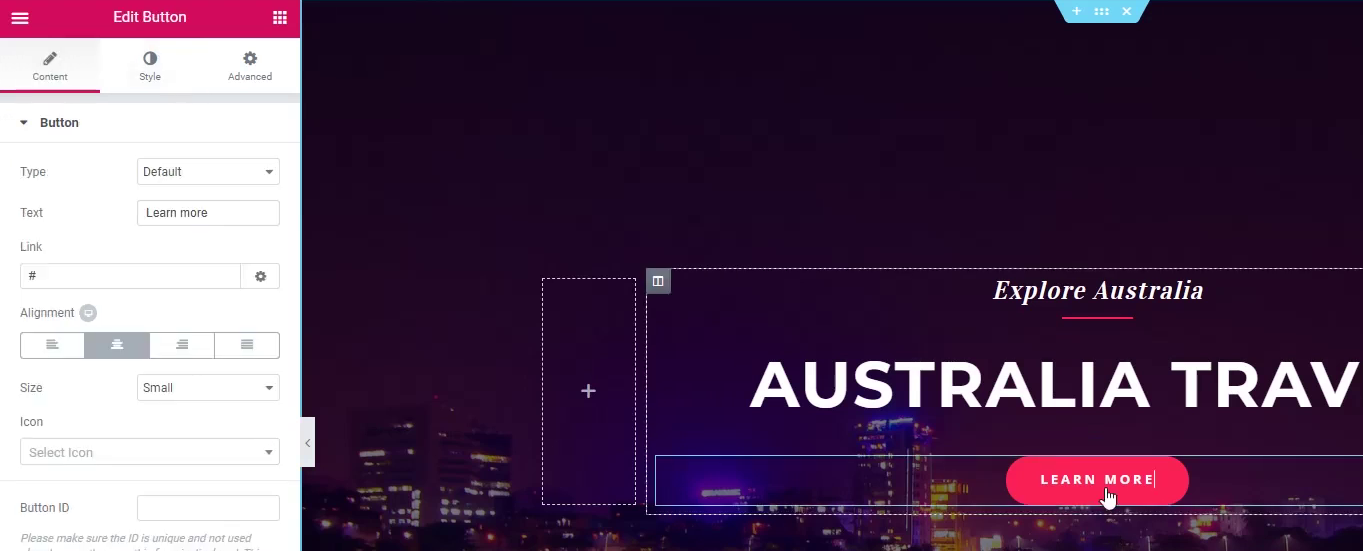
In Elementor, you can edit what the buttons do by selecting them. In the example, we select the ‘Learn More’ button. Under the ‘Content’ tab in the sidebar there is a link option:
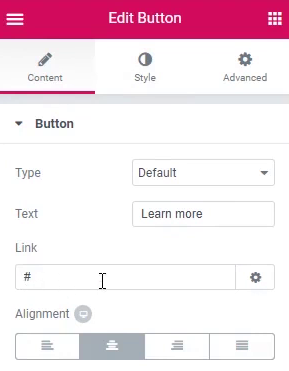
Paste any URL in your site here. The button will link to that page when clicked:
Changing Standard Images
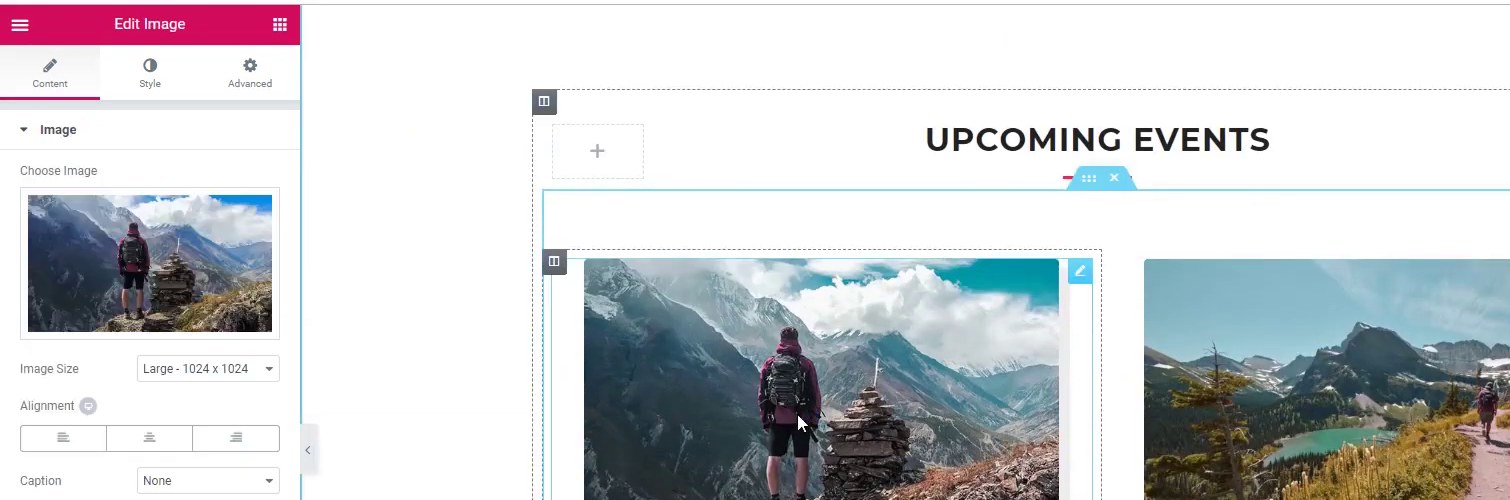
Changing regular images on the page is simple. Click the image, and its thumbnail will appear in the sidebar. Click delete and add a new image with the (+) icon:
3. Background Overlays
Background overlays are useful when you want to display text over an image. In our example video, the ‘Explore the World’ section uses a black background with an overlay image.
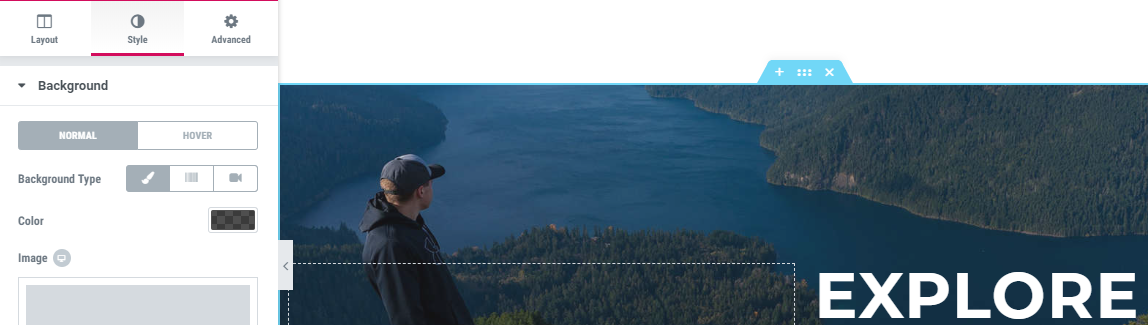
Click the blue section tab, then click ‘style’ in the sidebar:
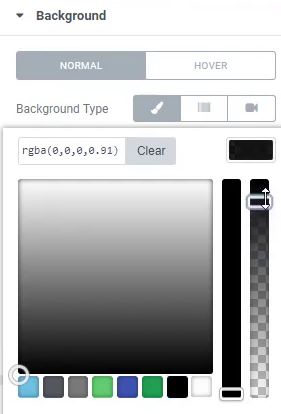
You can click the color button to change the color and adjust its shade and transparency:
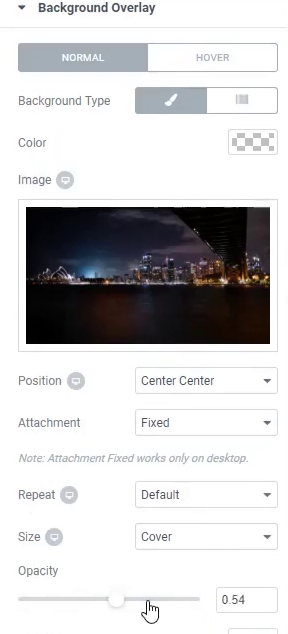
Clicking the ‘Background Overlay’ tab, you can choose a new image and adjust its opacity. Moving the slider to the right (1) makes the image opaque. Moving it to the left makes it transparent so the black background color comes through. This makes the image appear darker so that white text is more readable:

Save any changes along the way by clicking ‘Update’ on the bottom of the Elementor sidebar:
4. Customizing the Astra Theme

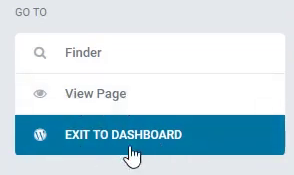
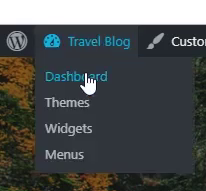
You can get back to the WordPress dashboard by clicking the top left ‘hamburger’ menu icon:
Then click ‘exit to dashboard’. Another good method is to keep two browser tabs open. Have one with Elementor open, and one with your WordPress dashboard open:
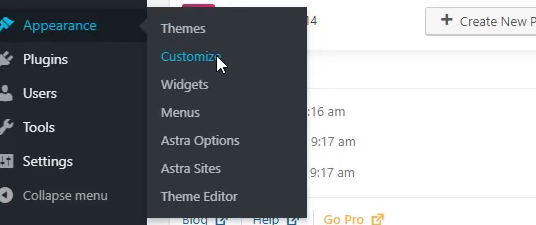
You’ll need to customize some parts of your site using the theme customizer. From your dashboard, click appearance, then customize:

To change the site title and tagline you can click the blue pencil icons or follow the menus. Click layout, header, then site identity:
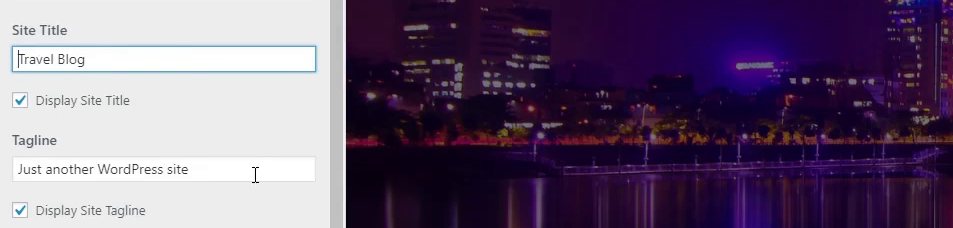

The sidebar will show fields where you can edit parts of your header. Set your title and tagline here:
Click ‘publish’ to save any changes:
Edit the Header Menu

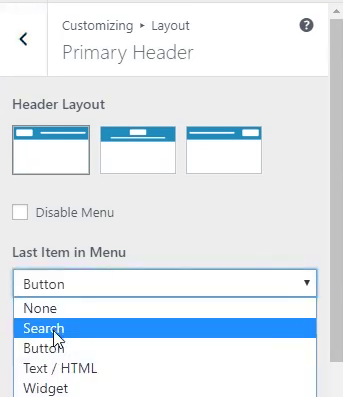
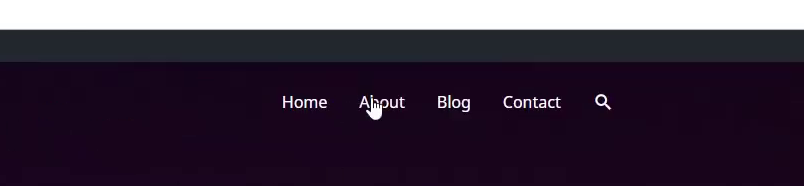
In our example video, we change the ‘Take Action’ button to a search icon. Either click the blue pencil icon, or follow the menus. Go to layout, header, then ‘primary header’.
You can now change the ‘Last Item in Menu’ to whatever you prefer (we chose a search icon in this demo):
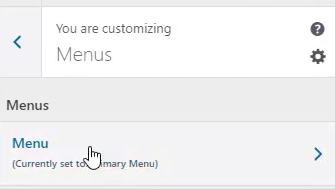
We can customize the header menu itself from the ‘Menus’ tab in the sidebar. Then click ‘Menu’. Also, you can get there by clicking the blue pencil icon then click ‘edit menu’.
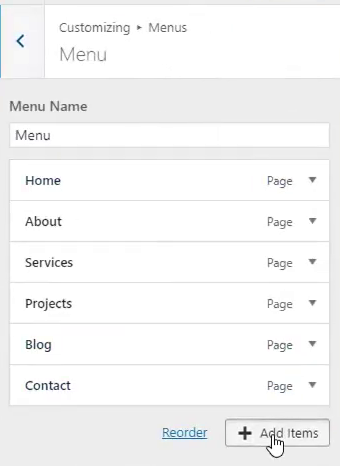

Click the ‘Add Items’ button:
You can remove any parts of the menu you don’t need. In our example, we remove the ‘Projects’ and ‘Services’ page that come with the starter site. Press the red ‘x’ buttons to remove them from the menu:
Edit the Footer

Next you’ll edit the footer, by selecting Layout, Footer, then Footer Bar. You could also scroll to the bottom and click the blue pencil icon in the footer:
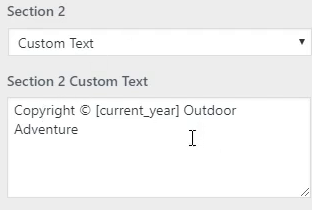
You can change the ‘Section 1’ and ‘Section 2’ custom text to whatever you prefer. For example, you can put your site name and basic contact info in the footer:
Don’t forget to hit ‘Publish’ to save any changes!
Now you can view your site – your main page should be complete at this point! Open your ‘about’ and ‘contact’ pages in new tabs. You can click ‘Edit in Elementor’ on these pages and customize the images and text the same way you did on your main page.
5. Making a WordPress Contact Form
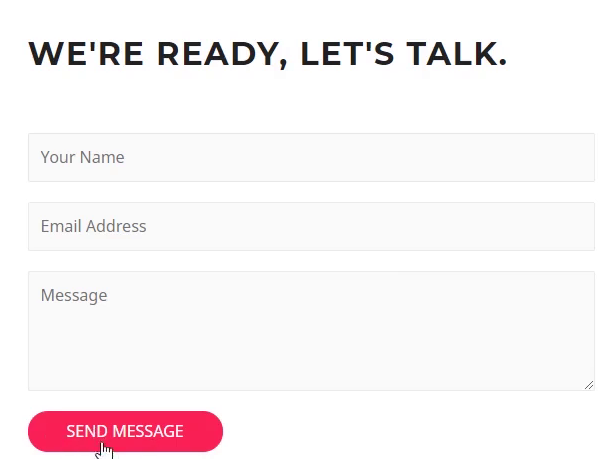
Your ‘Contact’ page includes a contact form. You’ll need to configure the contact form for it to work.
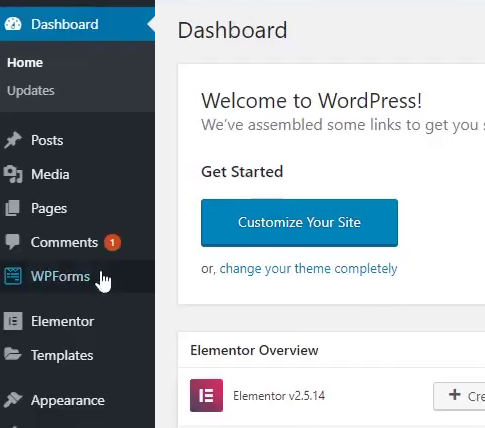
Go to your WordPress dashboard:
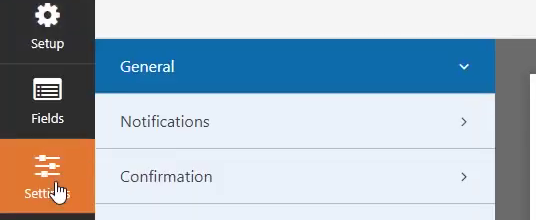
Click ‘WPForms’
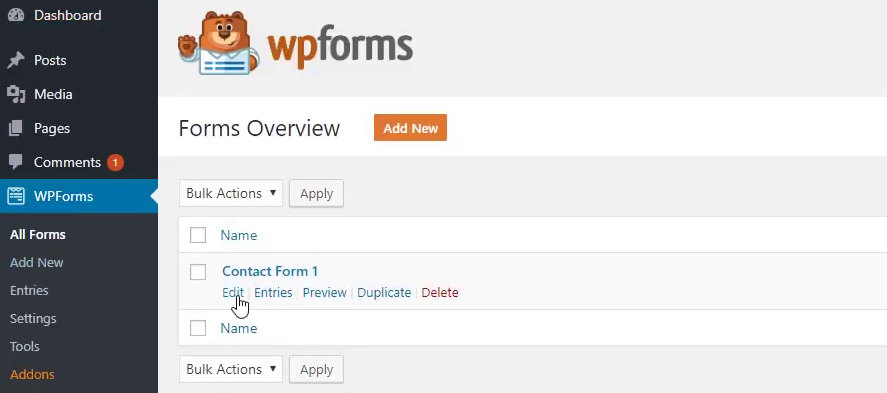
Under ‘Contact Form 1’ click Edit:
Click the Settings icon:
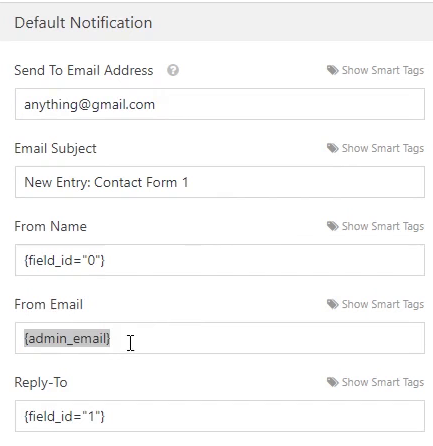
Then click the notifications tab. By default, the ‘Send to Email Address’ is the admin email from when WordPress first installed. You can change this to any email you prefer to receive the form notifications from:
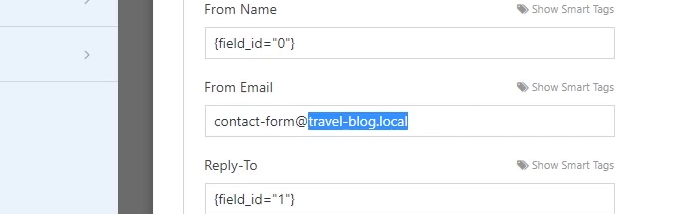
The ‘From Email’ is important. This needs to come from the same domain your site is on. For example if your site is mywebsite.com you should put an email like ‘[email protected]’. Note that you don’t need to use a real email address for this part. It’s just an address WordPress will use to send you your notifications:
We are almost finished! Your next step is to customize the blog page.
6. Customizing the WordPress Blog Page
This is the only page you can’t edit in the free version of Elementor. We can use the default WordPress editor (Gutenberg) to get this part done.


From the homepage of your site, open your ‘Blog’ page in a new tab:
Then click ‘Edit Page’ from the top menu:
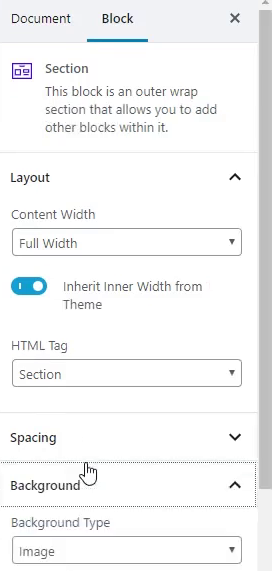
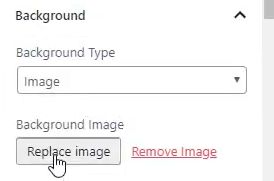
Change the background image by clicking on the background block:
Then click the ‘background’ tab on the right sidebar.
You can click ‘replace image’ here to change to another image.
You can click on the title ‘Blog’ and change this title to whatever you prefer.
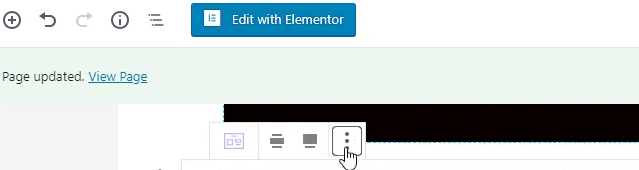
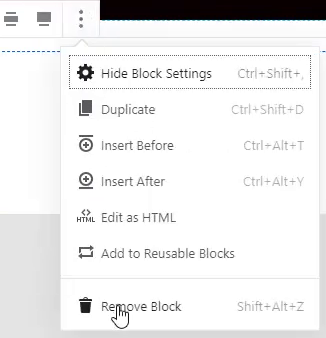
Our starter site has a large single image for the latest blog post, and a three column grid for previous posts. In our example we removed the single image by clicking the block, clicking the “three dots” menu on top of the block:
Then click ‘Remove Block’.
This gives the blog a cleaner, simpler layout. Though feel free to keep the single latest post block if you like it!

Save any changes by clicking the ‘Update’ button in the top right:
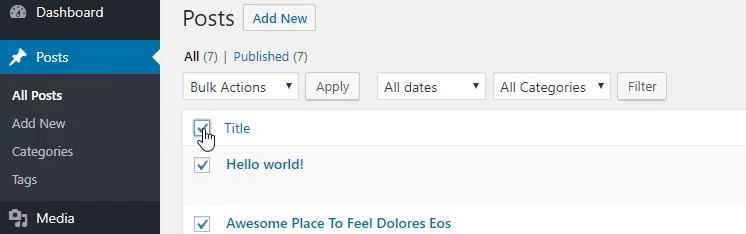
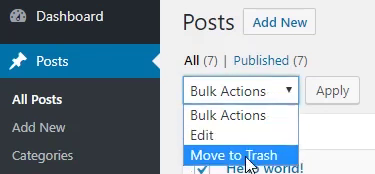
The starter site comes with several example blog posts. You can delete all these from the dashboard. Click ‘Posts’ then click the checkbox next to ‘title’ to select all the posts:
Click the ‘bulk actions’ drop down menu. Select ‘Move to Trash’:
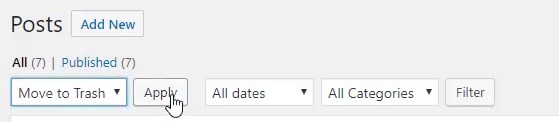
Then click Apply:
Making a New Post
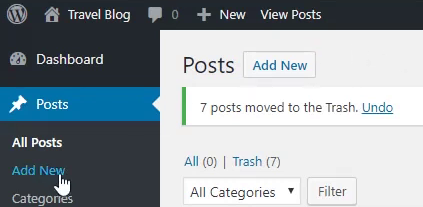
We can create a new post by clicking ‘Posts’ then ‘Add new’. Or, use the top menu ‘+ New’, then ‘Post’.
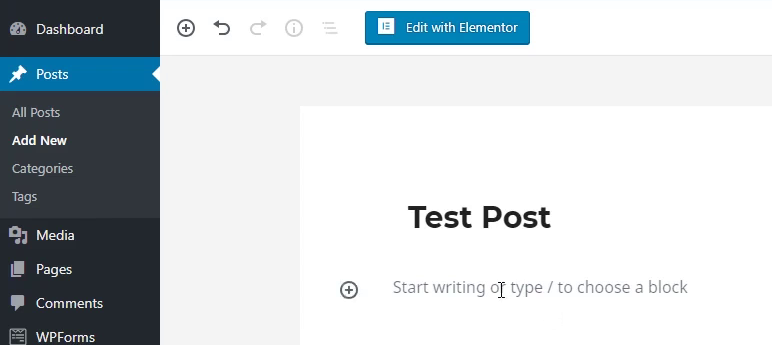
From here you can write a title for your post, and start writing the first paragraph of your blog post:
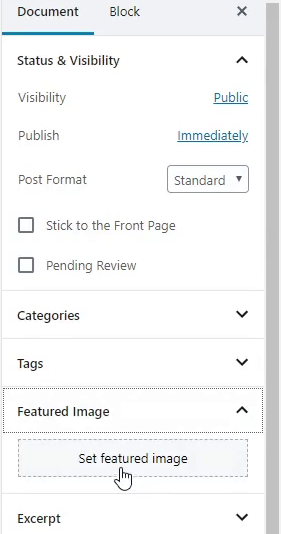
You should also set a featured image. From the right sidebar, click ‘Featured Image’ and ‘Set Featured Image’.
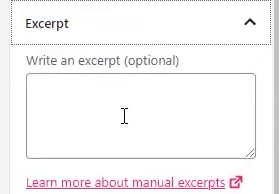
Under the ‘Excerpt’ tab in the sidebar, you can write a short intro for your post. You can also leave it blank and WordPress will automatically fill this. By default the first few words of your post will become your excerpt:
Customizing the Sidebar and Post Meta
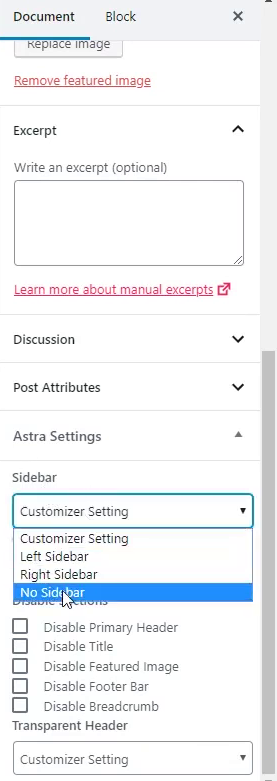
To make the layout of your post look cleaner, you can remove the sidebar by clicking the ‘Sidebar’ drop drown. Choose ‘No Sidebar’.
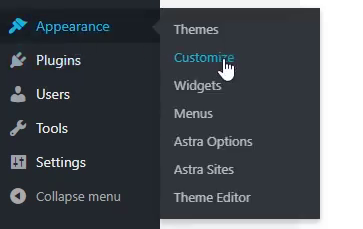
The blog layout can be further customized in your theme customizer. From the dashboard click ‘Appearance’ then ‘Customize’.
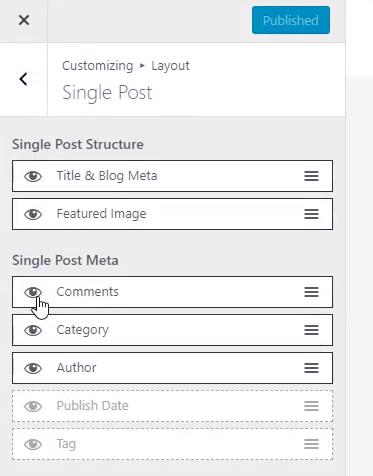
Go to Layout, then ‘Blog’ then ‘Single Post’. You can uncheck any of the ‘Single Post Meta’ options you don’t like. In our example, we uncheck all these to give the layout a more elegant feel. This removes the category, author and comment sub headings from your posts:
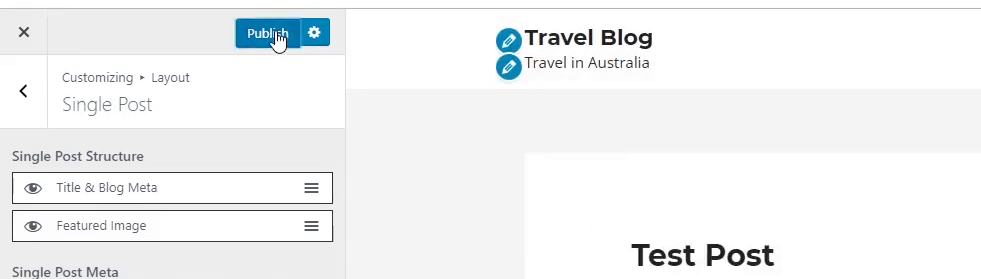
Click publish when you are happy with your changes:
You can repeat the above process to add new posts as you like. Make sure to post on a regular basis to keep your readers engaged and to attract new ones.
Further Learning – After the WordPress Tutorial
That wraps up the WordPress tutorial! You now have a clean and tidy little WordPress site that you can add new posts to whenever you like. Don’t forget to hit ‘like’ on our YouTube video, and subscribe to catch the latest ones.
If you’d like some personal guidance on this process, we’d love to see you at one of our training courses. Register your email with us to get the latest news on our upcoming training schedule. See you at our next WordPress tutorial session in Brisbane!
We also recommend adding some WordPress training if you’re looking at one of our web design packages. You’ll get a lot more value out of a WordPress site if you’re comfortable using it.